Hope you're all having a fabulous Saturday! Here's a page I made a few nights ago. I used My Minds Eye paper stack. I took a few patterned papers, layered them and voila!! I also distressed all my edges and inked them with "Vintage Photo" distress ink. I added some embellishments and used the Cricut to cut out the "Happily" (Gypsy Fonts cartridge) Here are some tips I found on scrapbook.com on paper layering...see photos after tips.
Mix different size patters together - such as a one large pattern with a few smaller patterns.
*** Use consistent patterns with different colors - such as all stripes, all circles, etc.
*** Use patterns with similarities other than color - such as all geometric shapes - with one pattern being stripes, one being squares, one being circles, etc - or all plant themes - with a small floral print, a large floral print, a leafy print, etc
*** Use a solid piece of card stock to pull together several patterns using the same color.
*** Use patterns with subtle similarities - such as a striped pattern with thin black accent lines, a leaf pattern with black lines accenting the leaves, and a square pattern with thin black line accents.
*** Use patterns with the main colors within the same color family.
*** Put all your patterns on your desk beside each other - take three steps back and squint. If something sticks out like a sore thumb - remove that pattern and look again.
*** If you have a pattern you want to use, but it doesn't quite match, try changing it - for example if you have a few patterns with a yellow base color and one page that goes well except for the bright white in it, use your chalks to change the white to yellow!
*** When using bright patterns, if you like them together, but something just isn't quite right - try "inking" the edges white. It will soften the colors and give it a more unified look.
 |
| Materials |
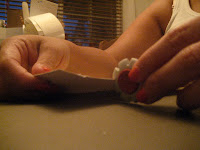 |
| Distressing paper (I did this to all of them) |
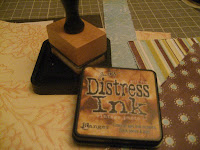 |
| inked all the edges |
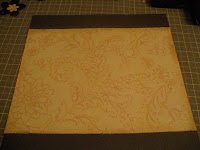 |
| Start layering |
 |
| more layering... |
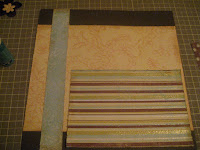 |
and more layering...
|
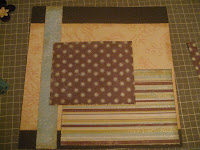 |
one last layer..this is actually the
mat to my photo. |
 |
| Add some embellishments and here you have it. |


No comments:
Post a Comment
Thank you for your comments! They mean a lot to me.